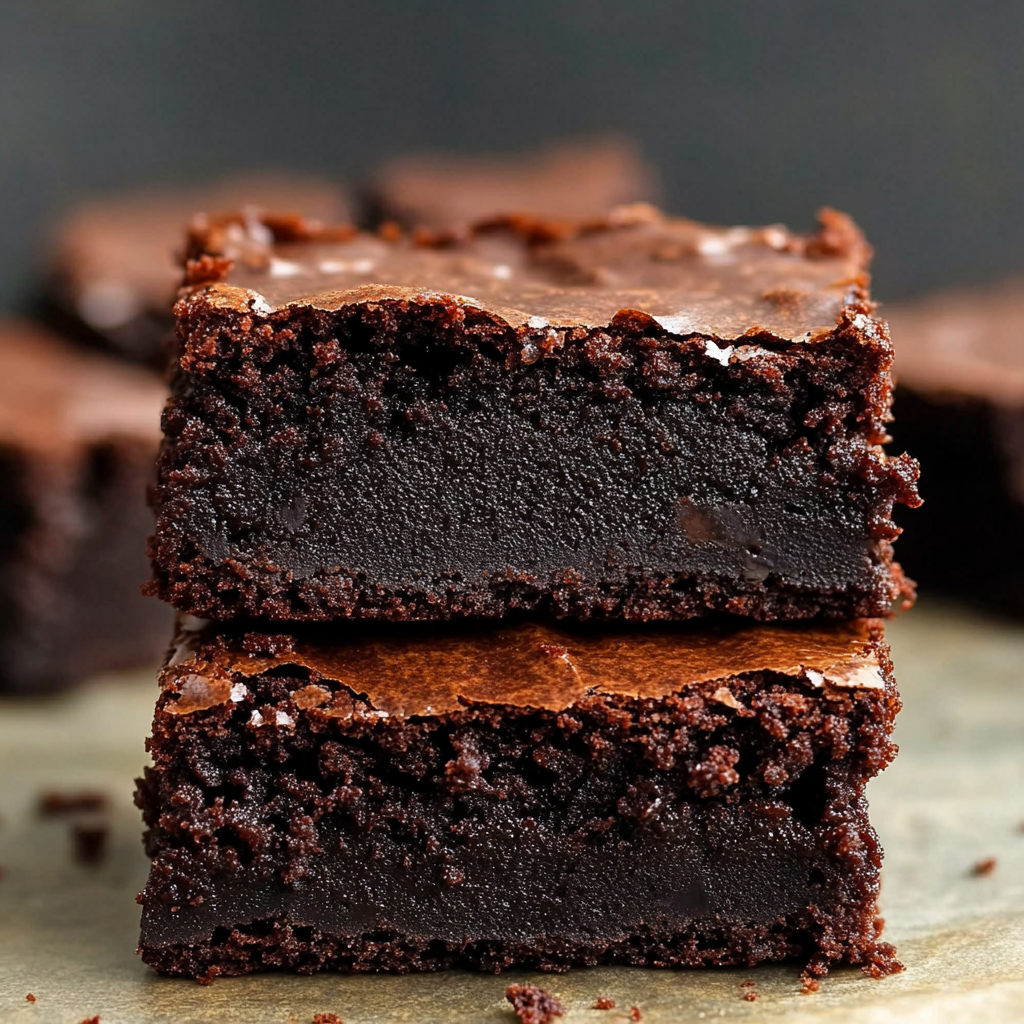
There’s something about the rich aroma of chocolate wafting through the kitchen that makes it feel like a warm hug on a cold day. Now, pair that with the delightful chewiness of mochi, and you have a dessert that’s not just food but an experience. The Chocolate Mochi Brownies Recipe is not just any recipe; it’s a celebration in every bite, promising to tantalize your taste buds.

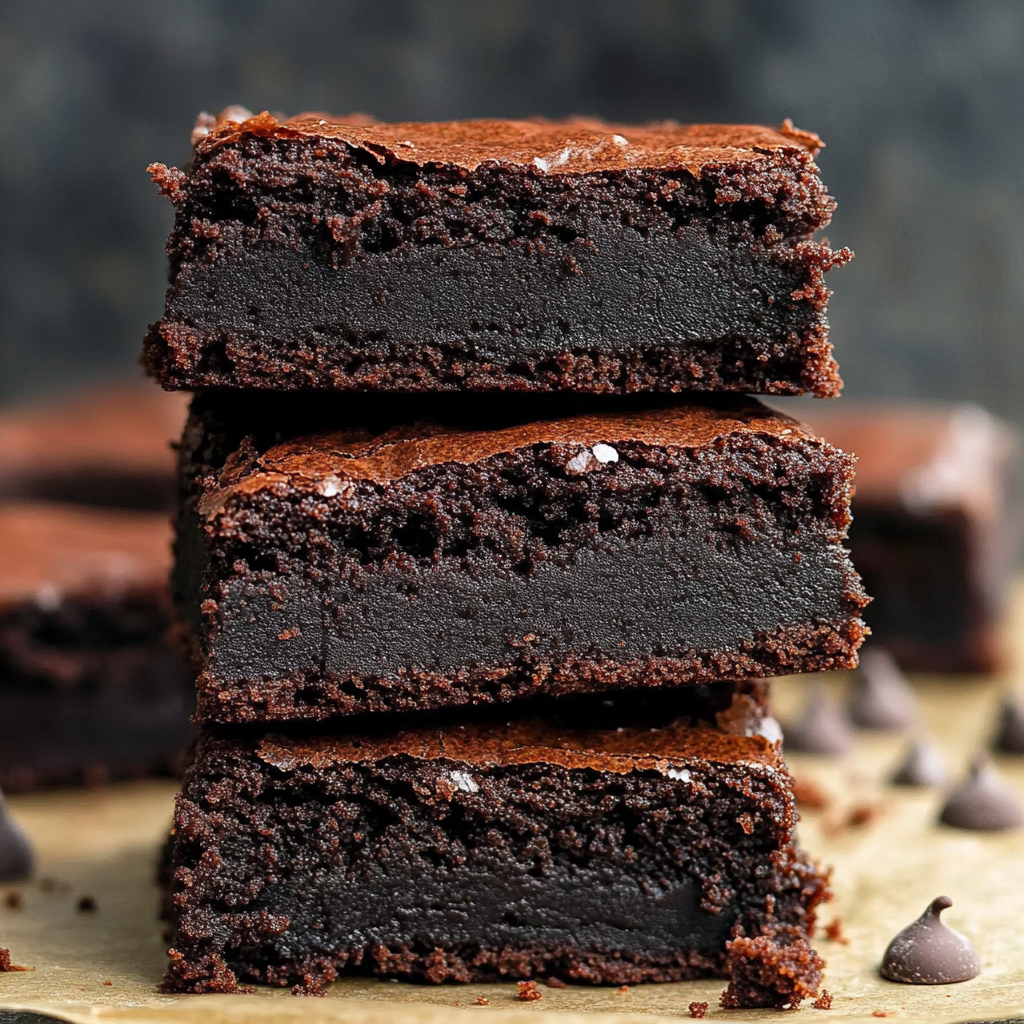
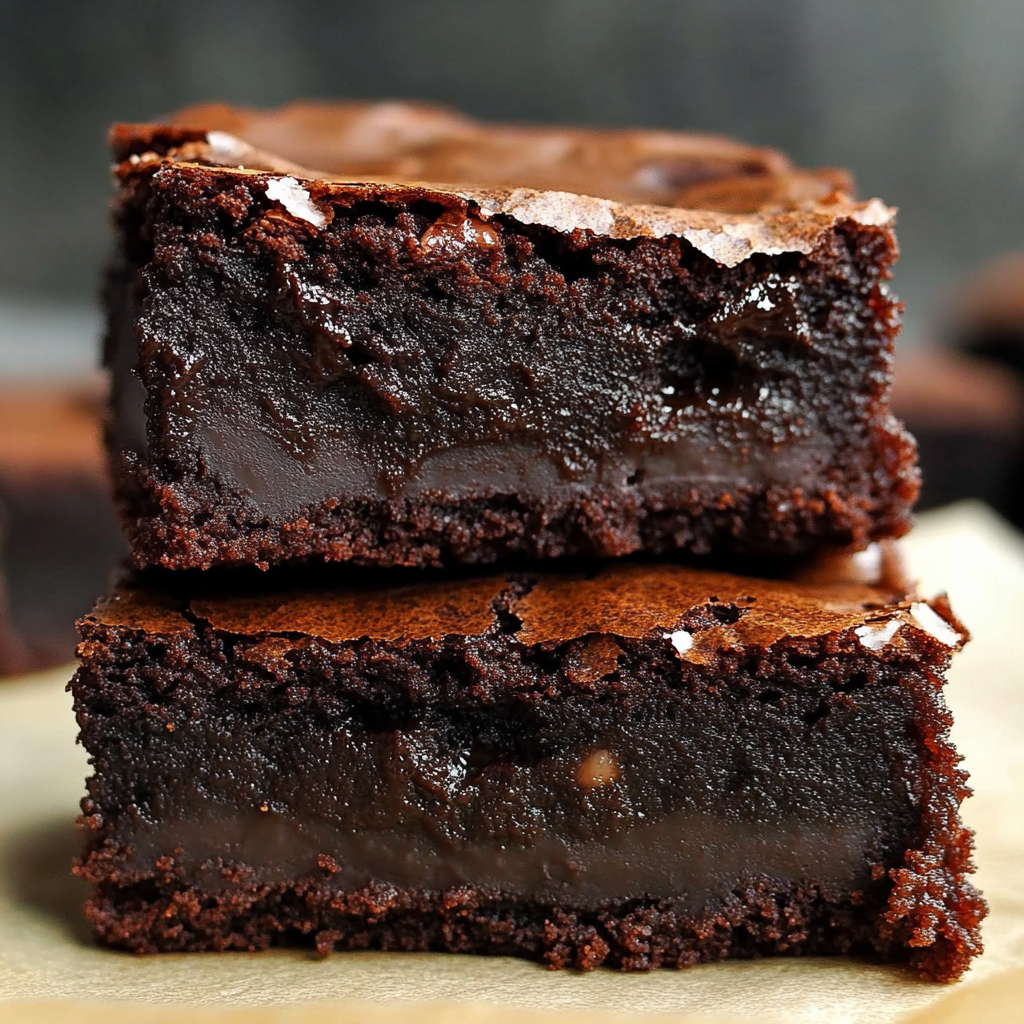
Imagine biting into a fudgy brownie, only to discover that it has a soft, chewy mochi layer underneath. It’s like a party in your mouth where chocolate and mochi are the best of friends. This delightful treat is perfect for parties, cozy nights in, or when you simply want to impress your friends with your culinary prowess (and maybe distract them from your questionable dance moves).
Why You'll Love This Recipe
- These brownies are incredibly easy to prepare, making them perfect for both novice bakers and seasoned pros
- Their rich chocolate flavor combined with the unique texture of mochi creates an unforgettable treat
- Visually stunning with their glossy top and chewy interior, they’re sure to impress at any gathering
- Plus, these brownies are versatile; you can serve them warm with ice cream or chilled for a refreshing treat
My first attempt at this recipe was met with wide-eyed wonder from my family as they took their first bites. The mixture of flavors had my little cousins begging for more!

Essential Ingredients
Here’s what you’ll need to make this delicious dish:
- Gluten-Free Sweet Rice Flour: This special flour gives mochi its signature chewy texture; make sure it’s labeled “sweet” rice flour.
- Cocoa Powder: Use unsweetened cocoa powder for rich chocolate flavor without added sugars.
- Granulated Sugar: Sweeten the deal! Adjust the quantity based on your sweetness preference.
- Water: You’ll need this to create the mochi dough; use room temperature water for best results.
- Eggs: Fresh eggs will help bind everything together while adding moisture and richness.
- Chocolate Chips: Semi-sweet chocolate chips add melty goodness; feel free to mix in dark or milk chocolate too!
- Vanilla Extract: A splash of vanilla enhances all those beautiful flavors; don’t skip this step!
- Baking Powder: This helps give the brownies a nice rise and light texture.
The full ingredients list, including measurements, is provided in the recipe card directly below.
Let’s Make it Together
Preheat Your Oven: Start by preheating your oven to 350°F (175°C). Grease an 8×8-inch baking pan with non-stick spray so your brownies don’t cling on like an unwanted houseguest.
Create Your Brownie Batter: In a large bowl, mix together gluten-free sweet rice flour, cocoa powder, sugar, eggs, vanilla extract, and water until smooth. The batter should look luxurious and chocolaty.
Stir in Chocolate Chips: Fold in those glorious chocolate chips gently into the brownie batter until evenly distributed. This is where dreams start getting real!
Prepare Your Mochi Layer: In another bowl, whisk together gluten-free sweet rice flour and water until there are no lumps left. This mixture should be thick but pourable—think pancake batter consistency.
Layer It Up!: Pour half of the brownie batter into the prepared pan first. Then carefully spoon over the mochi layer before finishing off with the remaining brownie batter on top. Swirl gently for aesthetic appeal.
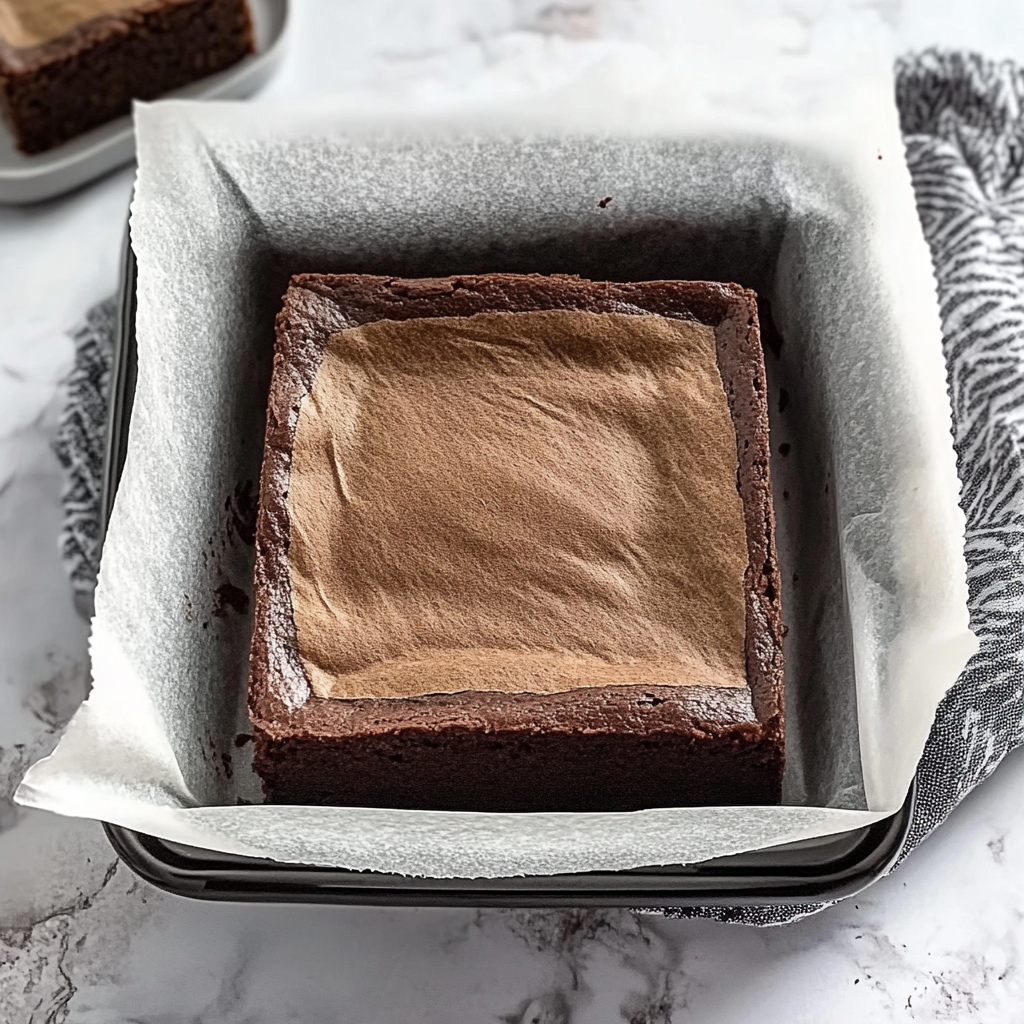
Bake to Perfection: Pop it into your preheated oven and bake for 30-35 minutes or until a toothpick inserted comes out mostly clean (a few crumbs are fine!). Allow it to cool slightly so you don’t burn your tongue—trust me on this one.
Now you’ve created something magical! These Chocolate Mochi Brownies are ready to wow everyone at your next gathering—or just keep them all for yourself because who could blame you?
So there you have it—a recipe that combines two worlds into one deliciously fun dessert! Whether you’re celebrating or simply indulging because it’s Tuesday (no judgment here), these brownies will surely bring smiles all around. Enjoy every bite!
You Must Know
- The secret to perfect Chocolate Mochi Brownies lies in the balance of chewy and fudgy textures
- Allowing the mochi to rest enhances its flavor and texture
- Don’t skip the resting time; it’s crucial for achieving that melt-in-your-mouth goodness
Perfecting the Cooking Process
Start by melting chocolate and butter, then mix with mochi flour for a delicious batter. Bake at 350°F for about 25 minutes to ensure a gooey center.

Add Your Touch
Consider adding nuts or chocolate chips for extra crunch. A sprinkle of sea salt on top can elevate the flavor profile beautifully.
Storing & Reheating
Store brownies in an airtight container at room temperature for up to five days. Reheat briefly in the microwave to restore their delightful chewiness.
Chef's Helpful Tips
- Using high-quality chocolate makes a noticeable difference in taste; don’t skimp here
- Always sift your mochi flour to avoid clumps, which can ruin the texture
- For an even richer flavor, try adding vanilla extract or espresso powder to the batter
Baking these Chocolate Mochi Brownies reminds me of my childhood kitchen chaos, where my family would gather around, eager for warm treats straight from the oven.

FAQ
Can I use regular flour instead of mochi flour?
Regular flour will not give you the same chewy texture as mochi flour.
How do I know when my brownies are done?
Insert a toothpick; it should come out with a few moist crumbs attached.
Can I freeze Chocolate Mochi Brownies?
Yes, wrap them tightly and freeze for up to three months for best taste.

Chocolate Mochi Brownies
- Total Time: 50 minutes
- Yield: Approximately 16 brownies 1x
Description
Indulge in the heavenly combination of rich chocolate and chewy mochi with these Chocolate Mochi Brownies. Each bite delivers a fudgy brownie layered with a soft, delightful mochi base, creating an unforgettable dessert experience. Perfect for gatherings or a cozy night in, these brownies are sure to impress friends and family alike. Enjoy the unique texture and flavor that make this dessert truly special!
Ingredients
- 1 cup gluten-free sweet rice flour
- 1/2 cup unsweetened cocoa powder
- 1 cup granulated sugar
- 1/2 cup water (room temperature)
- 2 large eggs
- 1/2 cup semi-sweet chocolate chips
- 1 tsp vanilla extract
- 1 tsp baking powder
Instructions
- Preheat your oven to 350°F (175°C) and grease an 8×8-inch baking pan.
- In a large bowl, combine sweet rice flour, cocoa powder, sugar, eggs, vanilla extract, and water until smooth.
- Gently fold in chocolate chips until evenly distributed.
- In another bowl, whisk together sweet rice flour and water for the mochi layer until thick but pourable.
- Pour half of the brownie batter into the prepared pan. Spoon over the mochi layer followed by the remaining brownie batter. Swirl gently for aesthetics.
- Bake for 30-35 minutes or until a toothpick comes out mostly clean. Allow to cool before serving.
- Prep Time: 15 minutes
- Cook Time: 35 minutes
- Category: Dessert
- Method: Baking
- Cuisine: Fusion
Nutrition
- Serving Size: 1 brownie (50g)
- Calories: 180
- Sugar: 15g
- Sodium: 50mg
- Fat: 7g
- Saturated Fat: 4g
- Unsaturated Fat: 3g
- Trans Fat: 0g
- Carbohydrates: 26g
- Fiber: 1g
- Protein: 3g
- Cholesterol: 40mg
Keywords: For added crunch, consider mixing in nuts or extra chocolate chips. A sprinkle of sea salt on top enhances flavor beautifully. Use high-quality chocolate for a richer taste.


